How to Install a Flight Controller on a Rc Aircraft?
Whether you are a beginner or an experienced RC aircraft enthusiast, installing a flight controller on your aircraft is an essential step towards improving its performance and stability. A flight controller acts as the brain of your aircraft, processing sensor data and providing precise control over flight maneuvers. In this article, we will guide you through the step-by-step process of installing a flight controller on your RC aircraft.
Choosing the Right Flight Controller
Before diving into the installation process, it is important to choose the right flight controller for your specific aircraft. Factors such as size, weight, and compatibility should be considered when selecting a flight controller. There are various options available in the market, ranging from basic controllers for beginners to advanced ones for professional flyers. Research and compare different models to find the best fit for your needs.
Preparing Your RC Aircraft for Installation
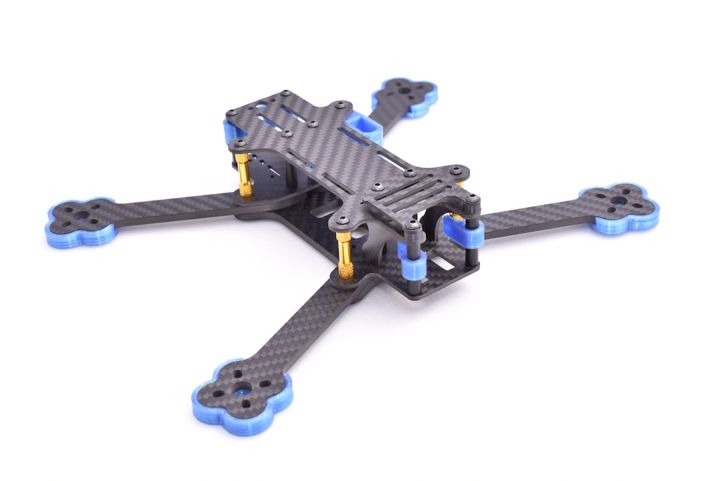
Before installing the flight controller, it is crucial to ensure that your RC aircraft is ready for the process. Start by disconnecting the power source and removing any existing electronics or wiring that may interfere with the installation. Clean the mounting area and make sure it is free from any debris or obstructions. This will provide a clean and stable surface for attaching the flight controller.
Mounting the Flight Controller
Once you have prepared your aircraft, it is time to mount the flight controller. Begin by securely attaching the flight controller board to the designated mounting area using screws or adhesive pads. Make sure the board is aligned properly and firmly attached to prevent any vibrations or movement during flight. Double-check the orientation of the flight controller, ensuring that the arrows on the board match the aircraft’s forward direction.
Wiring and Connections
After mounting the flight controller, the next step is to establish the necessary wiring and connections. Start by connecting the flight controller to the power distribution board, ensuring that the polarity is correctly aligned. Connect the ESCs (Electronic Speed Controllers) to the flight controller, matching the correct motor outputs. Remember to follow the manufacturer’s instructions for specific wiring requirements.
Calibrating the Flight Controller
Once all the connections are made, it is crucial to calibrate the flight controller to ensure accurate sensor readings and optimal performance. This process may vary depending on the flight controller model, so refer to the manufacturer’s instructions for detailed calibration steps. Common calibration procedures involve setting the correct orientation, calibrating the accelerometer, and configuring the flight modes.
Testing and Fine-Tuning
After the flight controller is installed and calibrated, it is time to test and fine-tune its settings. Power up your RC aircraft and check if all the control surfaces are responding correctly. Use a transmitter to test the flight controls and verify if the aircraft is stable and responsive. Make any necessary adjustments to the flight controller’s settings, such as the PID (Proportional, Integral, Derivative) values, to optimize flight performance.
Fly with Confidence
With the flight controller successfully installed and fine-tuned, you are now ready to take your RC aircraft to the skies with confidence. Keep in mind that practice and experience are key to mastering the controls and getting the most out of your aircraft. Enjoy the freedom of flight and continue exploring the vast possibilities of RC aviation.
In conclusion, installing a flight controller on your RC aircraft is a crucial step towards enhancing its performance and stability. By following the step-by-step process outlined in this article, you can successfully install and calibrate a flight controller, allowing you to fly with precision and confidence. Remember to choose the right flight controller for your aircraft, prepare the installation area, establish proper wiring connections, and fine-tune the settings for optimal performance. Happy flying!

