How to Build Your Own Drone from Scratch?
Drones have become increasingly popular in recent years, with their ability to capture stunning aerial footage and perform various tasks. If you have ever wanted to build your own drone from scratch, this article is for you. In this guide, we will take you through the step-by-step process of building your own drone, from selecting the components to assembling and testing the final product. So, let’s get started!
Choosing the Right Components
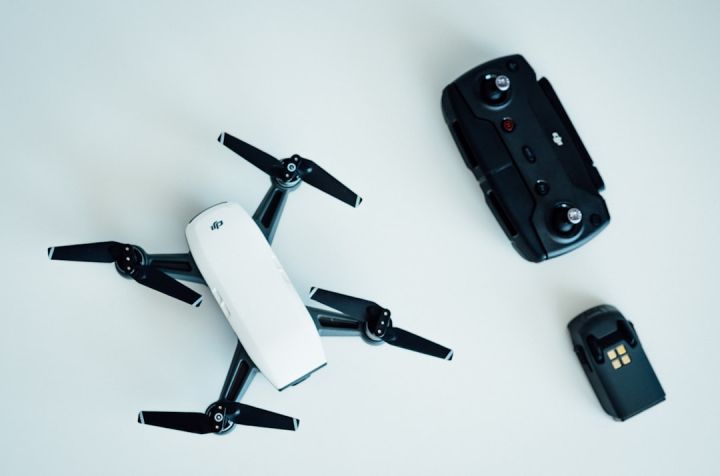
The first step in building a drone is selecting the right components. There are several key components you will need, including a flight controller, motors, propellers, batteries, and a remote control system. It is important to choose components that are compatible with each other and meet your specific requirements.
Assembling the Frame
The next step is to assemble the frame of your drone. The frame is the skeleton of the drone, which holds all the components together. You can choose from a variety of materials for the frame, such as carbon fiber or aluminum. Make sure to follow the instructions provided with the frame kit and use the appropriate tools for assembly.
Mounting the Motors and Propellers
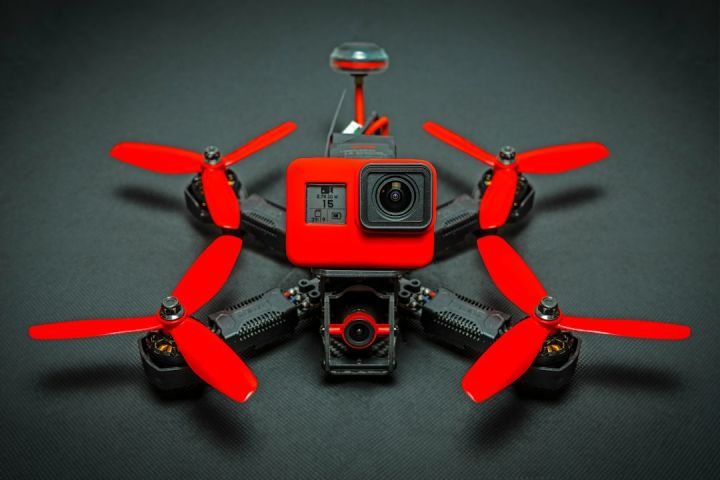
Once the frame is assembled, it’s time to mount the motors and propellers. The number and size of motors and propellers will depend on the type of drone you want to build. Make sure to follow the instructions provided with the motors and propellers for proper installation. It is important to secure the motors and propellers tightly to avoid any issues during flight.
Installing the Flight Controller
The flight controller is the brain of the drone, responsible for controlling its movements and stability. Follow the instructions provided with the flight controller to install it properly. Make sure to connect all the necessary wires and calibrate the flight controller before proceeding.
Connecting the Electronic Speed Controllers (ESCs)
The next step is to connect the electronic speed controllers (ESCs) to the flight controller. The ESCs regulate the speed of the motors and ensure smooth and stable flight. Make sure to connect the ESCs to the appropriate motor and follow the instructions provided with the ESCs for proper configuration.
Attaching the Battery and Power Distribution Board
Now it’s time to attach the battery and power distribution board. The battery provides power to the drone, while the power distribution board distributes power to all the components. Make sure to secure the battery and power distribution board properly to avoid any issues during flight.
Calibrating and Testing the Drone
Once all the components are installed, it’s time to calibrate and test the drone. Follow the instructions provided with the flight controller to calibrate the accelerometer, compass, and gyroscope. After calibration, perform a test flight in a safe and open area to ensure that the drone is functioning properly. Make any necessary adjustments to the flight controller settings for better stability and control.
Final Thoughts
Building your own drone from scratch can be a rewarding and educational experience. It allows you to customize your drone according to your specific needs and preferences. By following the step-by-step process outlined in this guide, you can build your own drone and enjoy the thrill of flying it. So, gather your components, roll up your sleeves, and start building your dream drone today!

